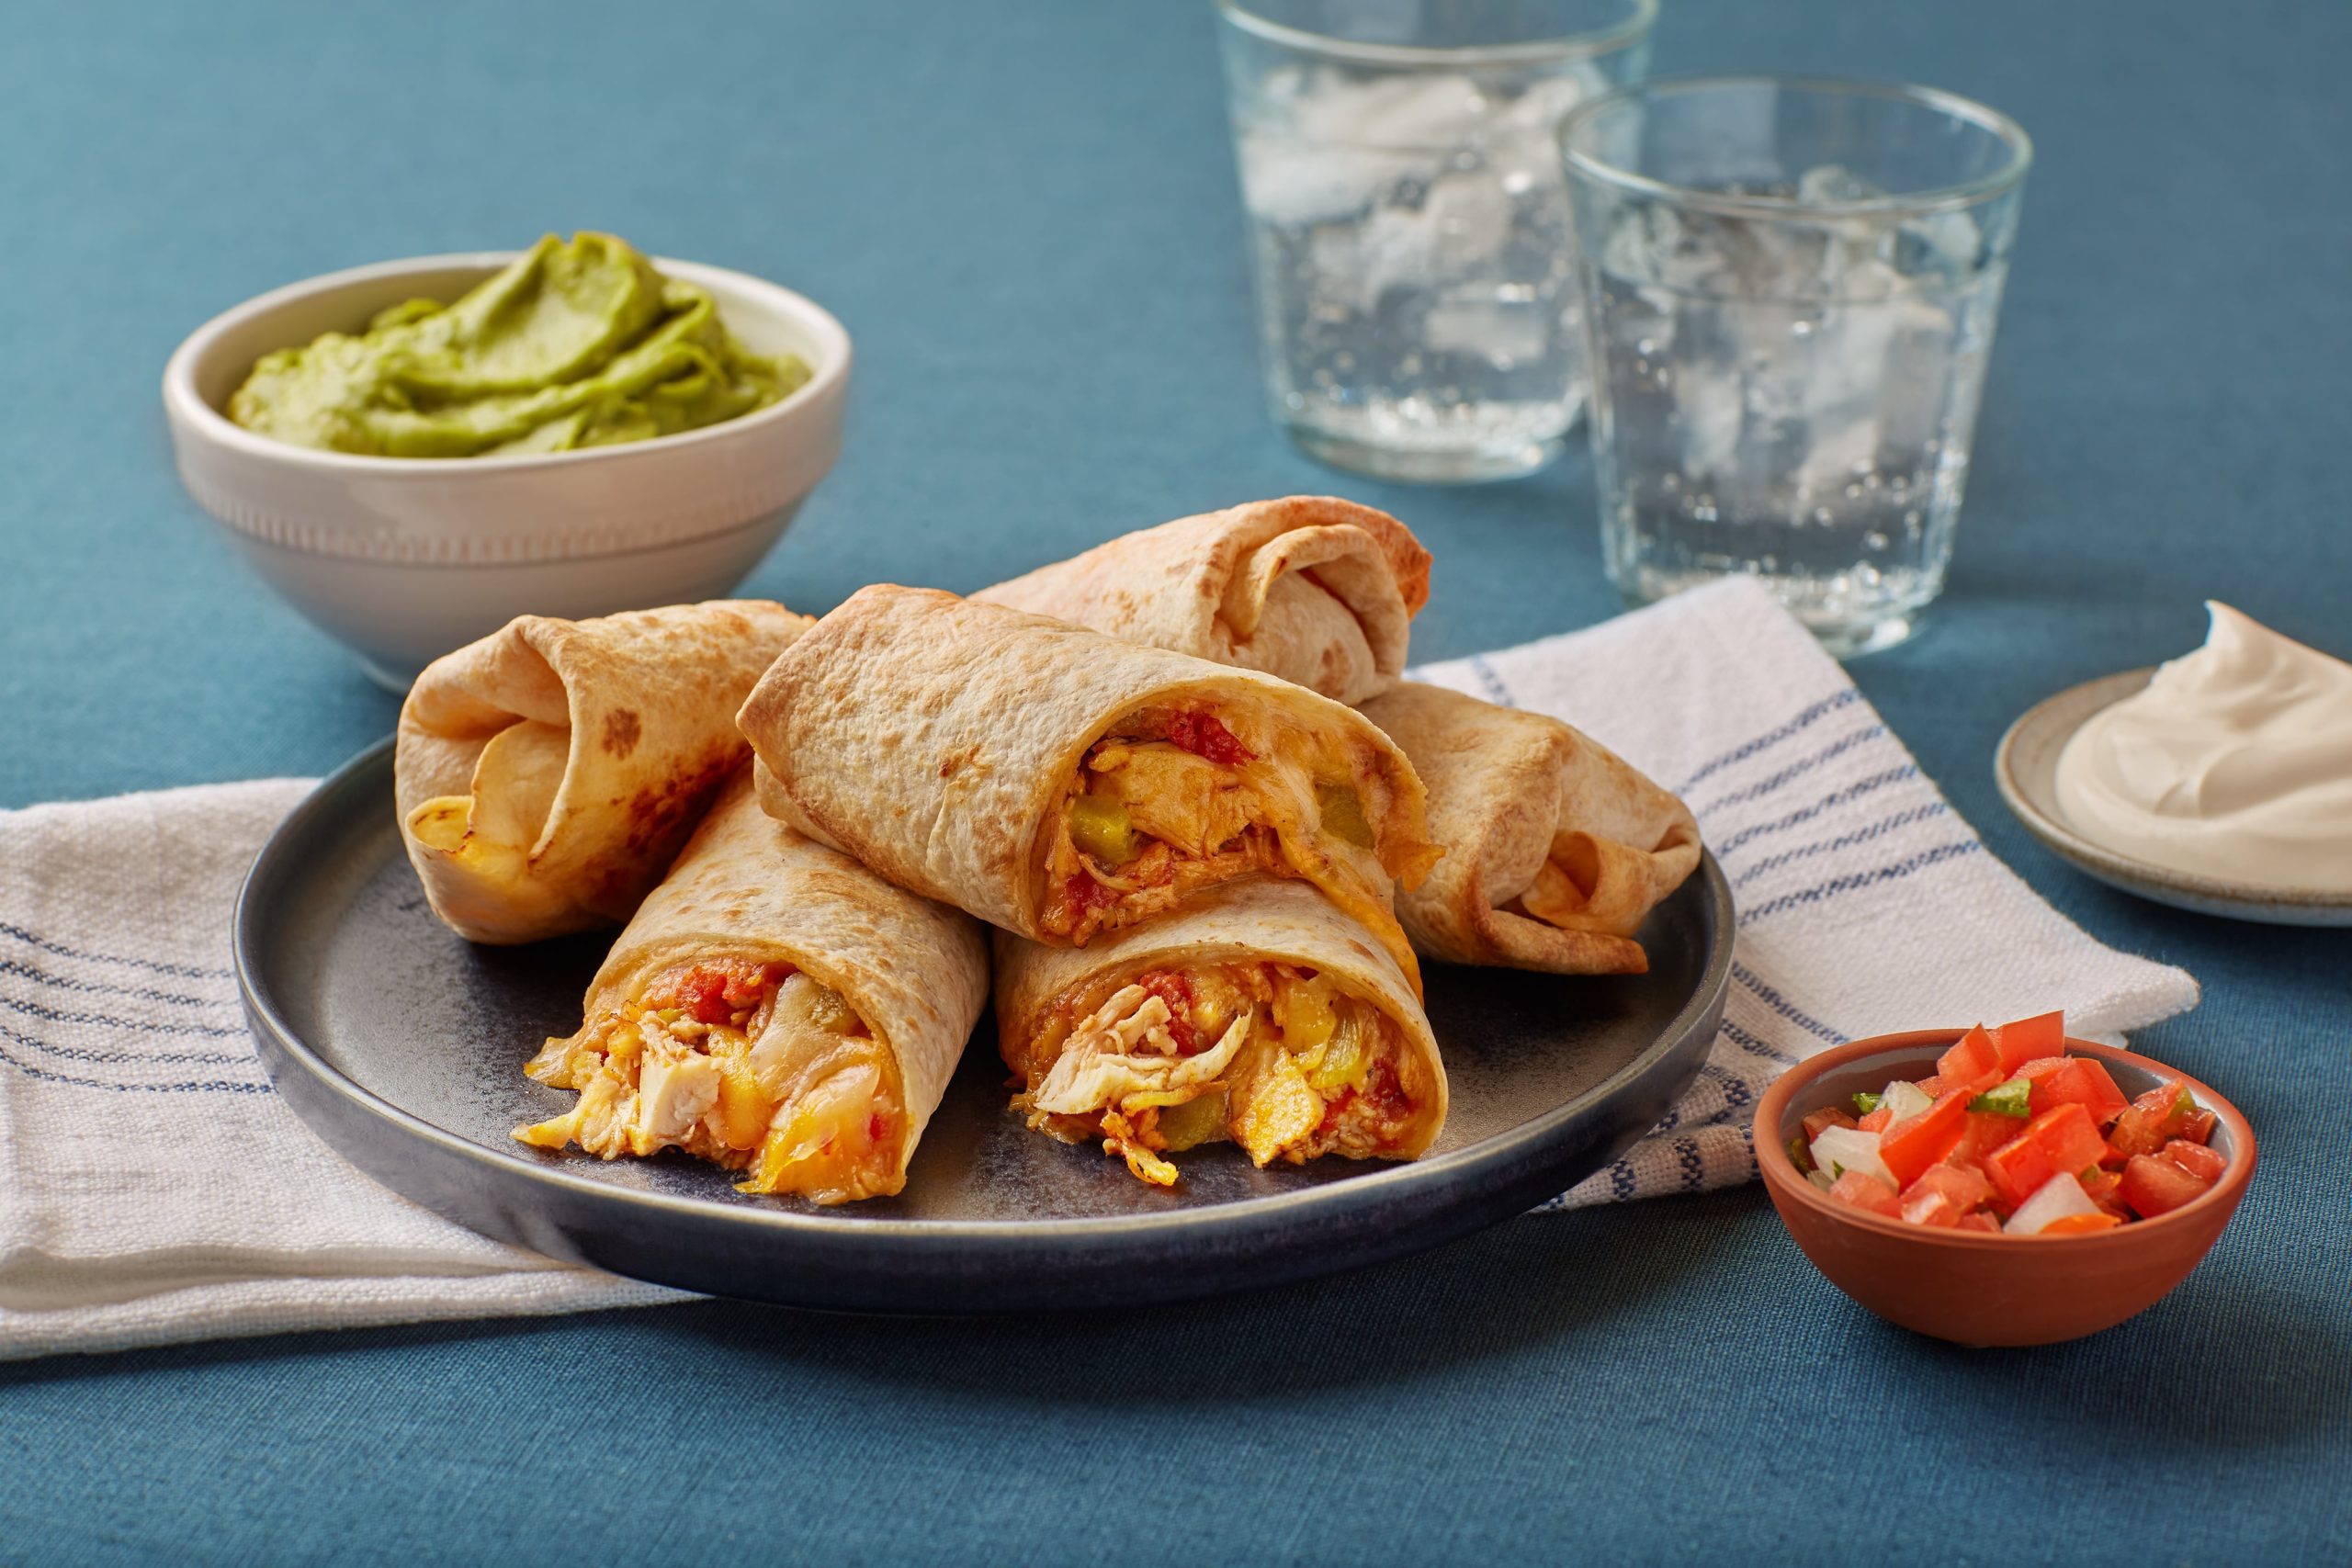
Tex-Mex Air Fryer Chimichangas

Preparation
Bowl icon

5

Minutes

Total Time
Clock icon

20

Minutes

Serves
Portions icon

6

servings

  • Ingredients

  • Preparation

  • 1pkg Maple Leaf® Natural Shredded Chicken (250g)
  • 1tbsp vegetable oil
  • 1can diced tomatoes, loosely drained reserving a little liquid (284ml)
  • 3tbsp canned chopped green chili
  • 1 tbsp taco seasoning
  • 1bag tex mex shredded cheese blend (320g)
  • 610 inch tortillas
  1. Heat air fryer to 375°F.
  2. Heat oil in a large nonstick skillet over medium high heat. Add chicken and stir for about 1 to 2 minutes until starting to brown. Add seasoning and mix well to combine and cook for an additional minute.
  3. Pour in tomatoes and chopped green chili. Allow to simmer for about 5 minutes stirring occasionally. You should have very little or no liquid left in your skillet. Remove from heat and allow to cool slightly.
  4. Assemble chimichangas by laying tortillas flat onto a clean surface. Divide cheese onto tortillas followed by chicken mixture. Roll in the sides of the tortillas and tightly roll up.
  5. Working in batches of 2 at a time place chimichangas seam side down in the basket of the air fryer. Cook for 5 to 6 minutes. The outside should be golden and crisp, and the filling should be warm. Enjoy immediately.
Tips icon

**All air fryers are calibrated differently. Ensure to watch your cook times. Serve topped with sour cream, pico de gallo and guacamole.

Don’t miss

Start a conversation with your family about climate change

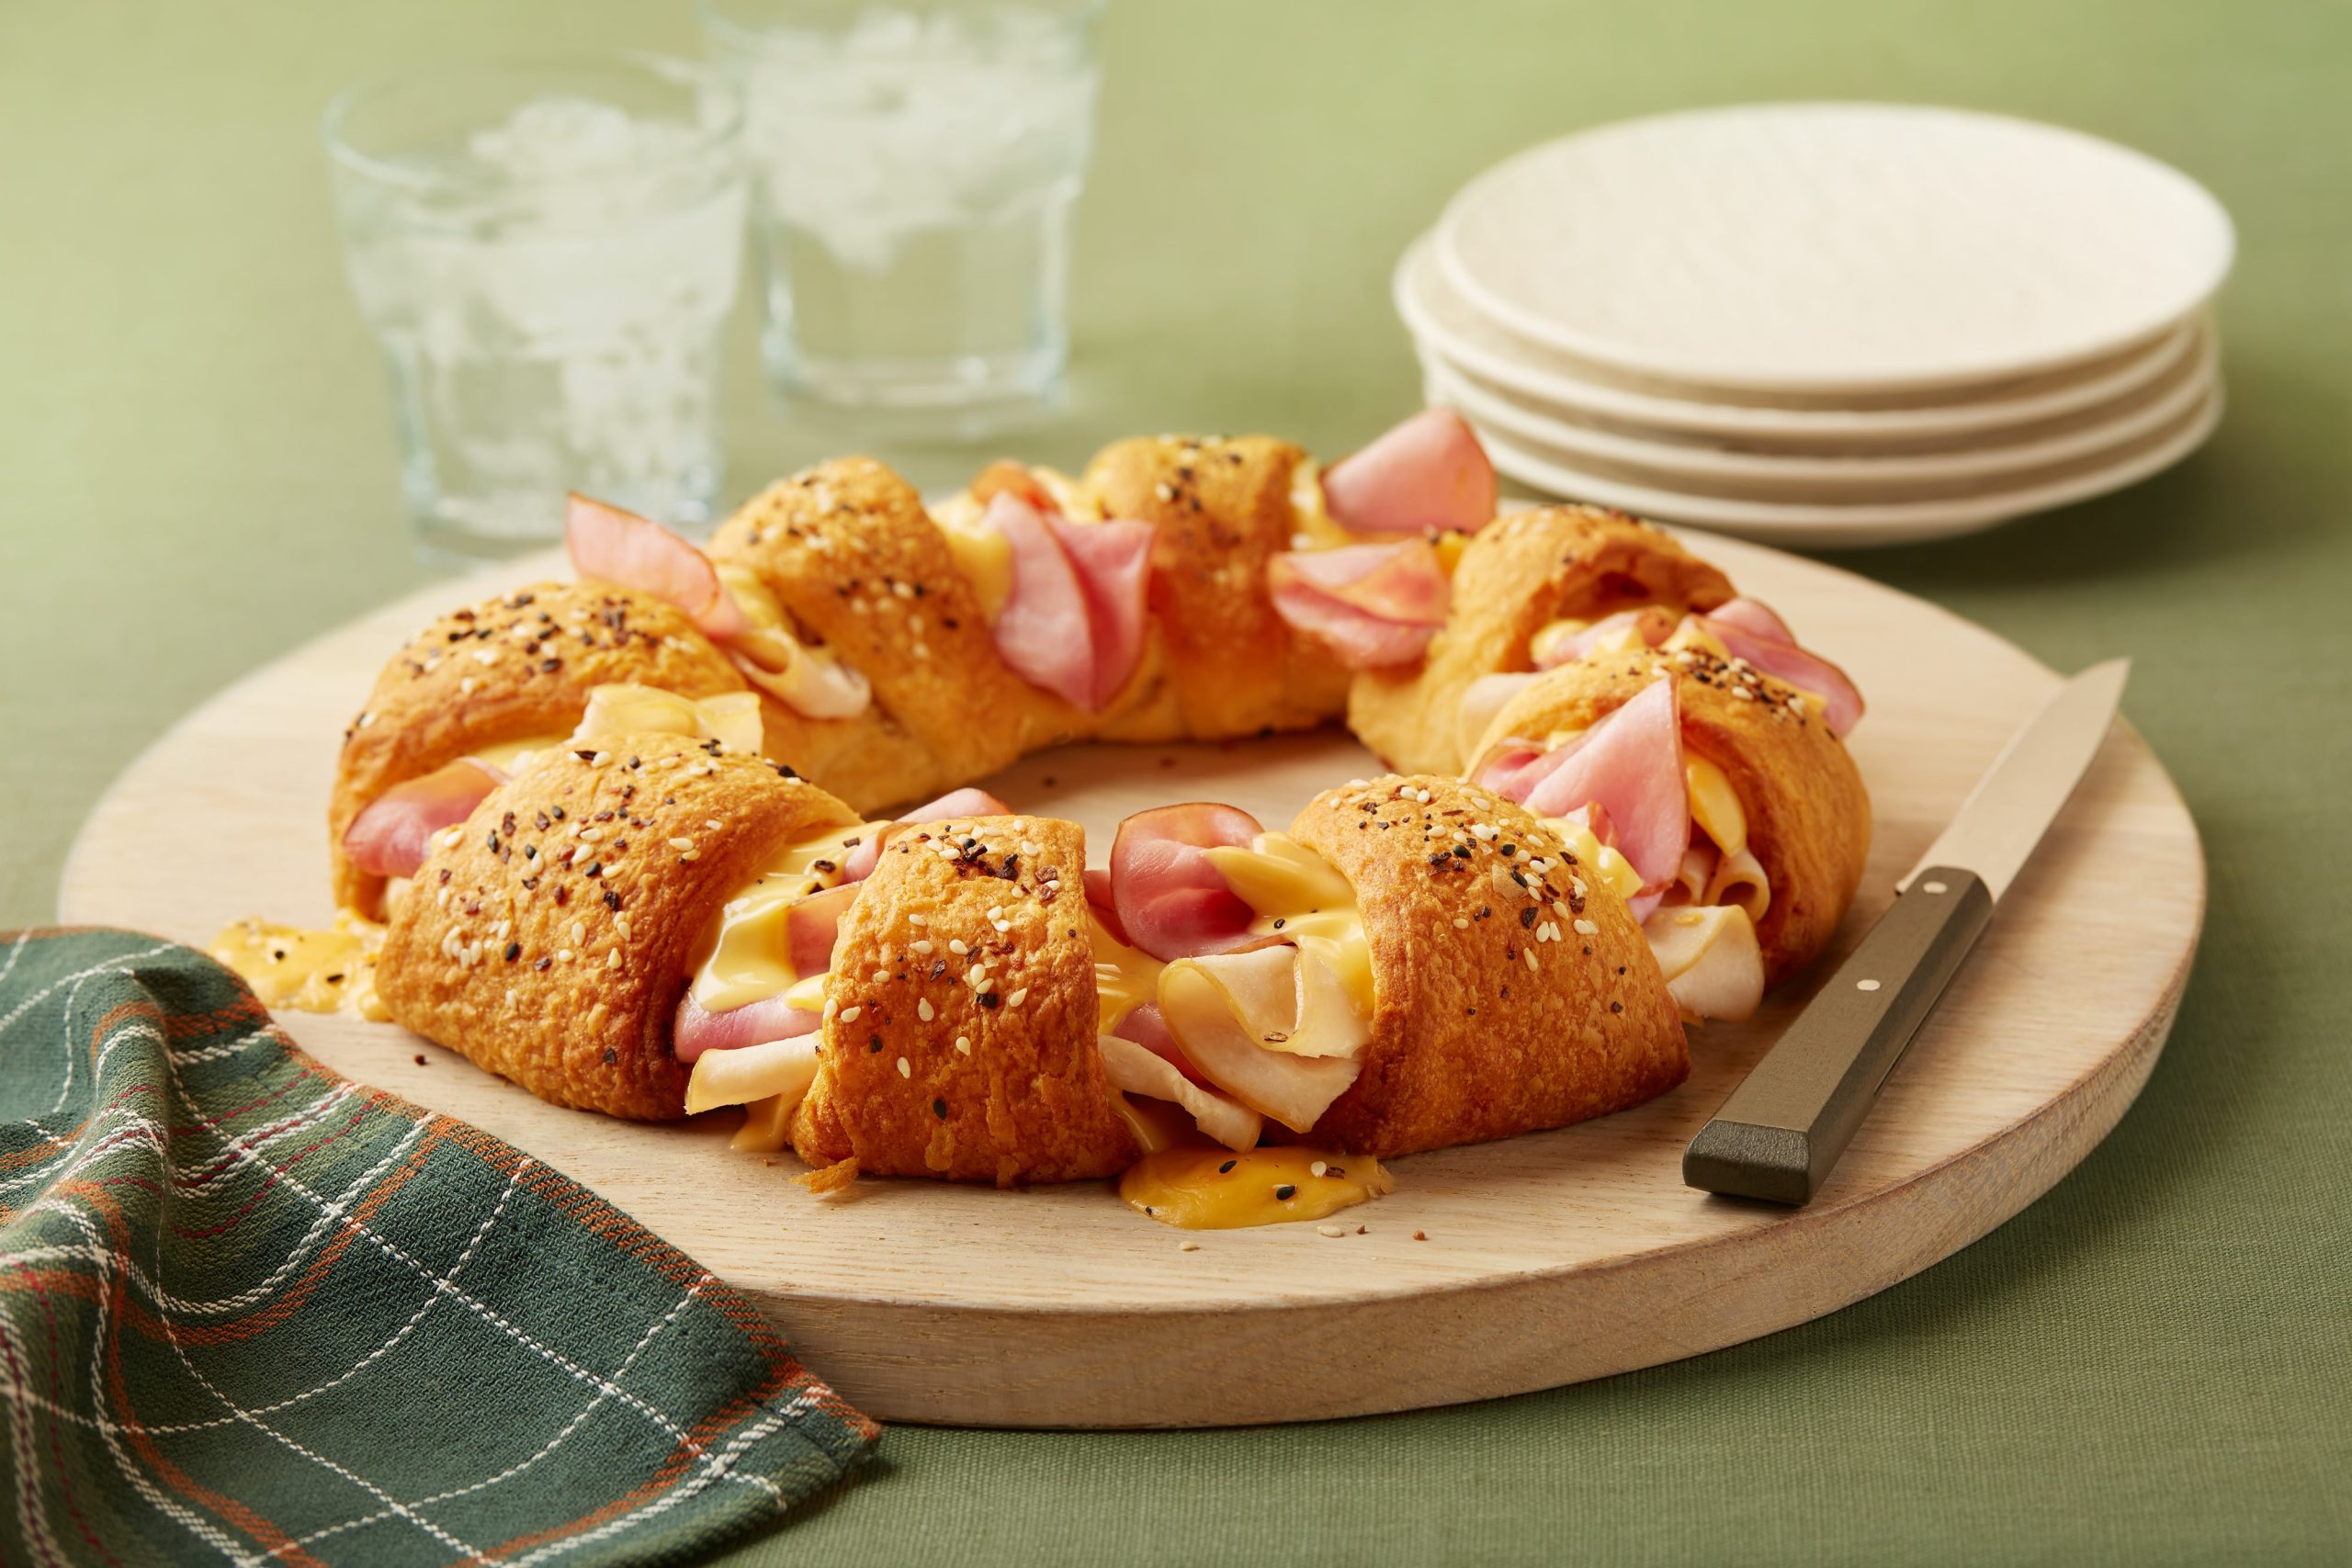
Mixed Deli Cheesy Crescent Ring

Preparation
Bowl icon

10

Minutes

Total Time
Clock icon

25

Minutes

Serves
Portions icon

4

servings

  • Ingredients

  • Preparation

  1. Preheat oven to 375°F. Line a large baking sheet with parchment paper.
  2. Carefully unroll dough and separate the perforations. Create a ring slightly over lapping at the long ends of the dough towards the center and the points of dough outwards.
  3. Place half of the cheese slices around the center of the dough. Fold turkey and place over top of cheese followed by ham and remaining cheese.
  4. Fold pointed end over the meat and cheese toward the center of the ring and fold tip under base of dough and crimp with your fingers.
  5. Brush the top of the dough with butter and sprinkle with seasoning.
  6. Bake on center rack of oven for about 11 to 14 minutes. Pastry should be golden brown, and cheese should be gooey and melted. Allow to cool slightly and cut into desired number of slices.
Tips icon

Try using your favorite sliced Maple Leaf® Natural Selections® meats! Don’t have everything bagel seasoning – Don’t worry! Make your own by combining a small amount of sesame seeds, poppy seeds and garlic salt!

Don’t miss

Start a conversation with your family about climate change

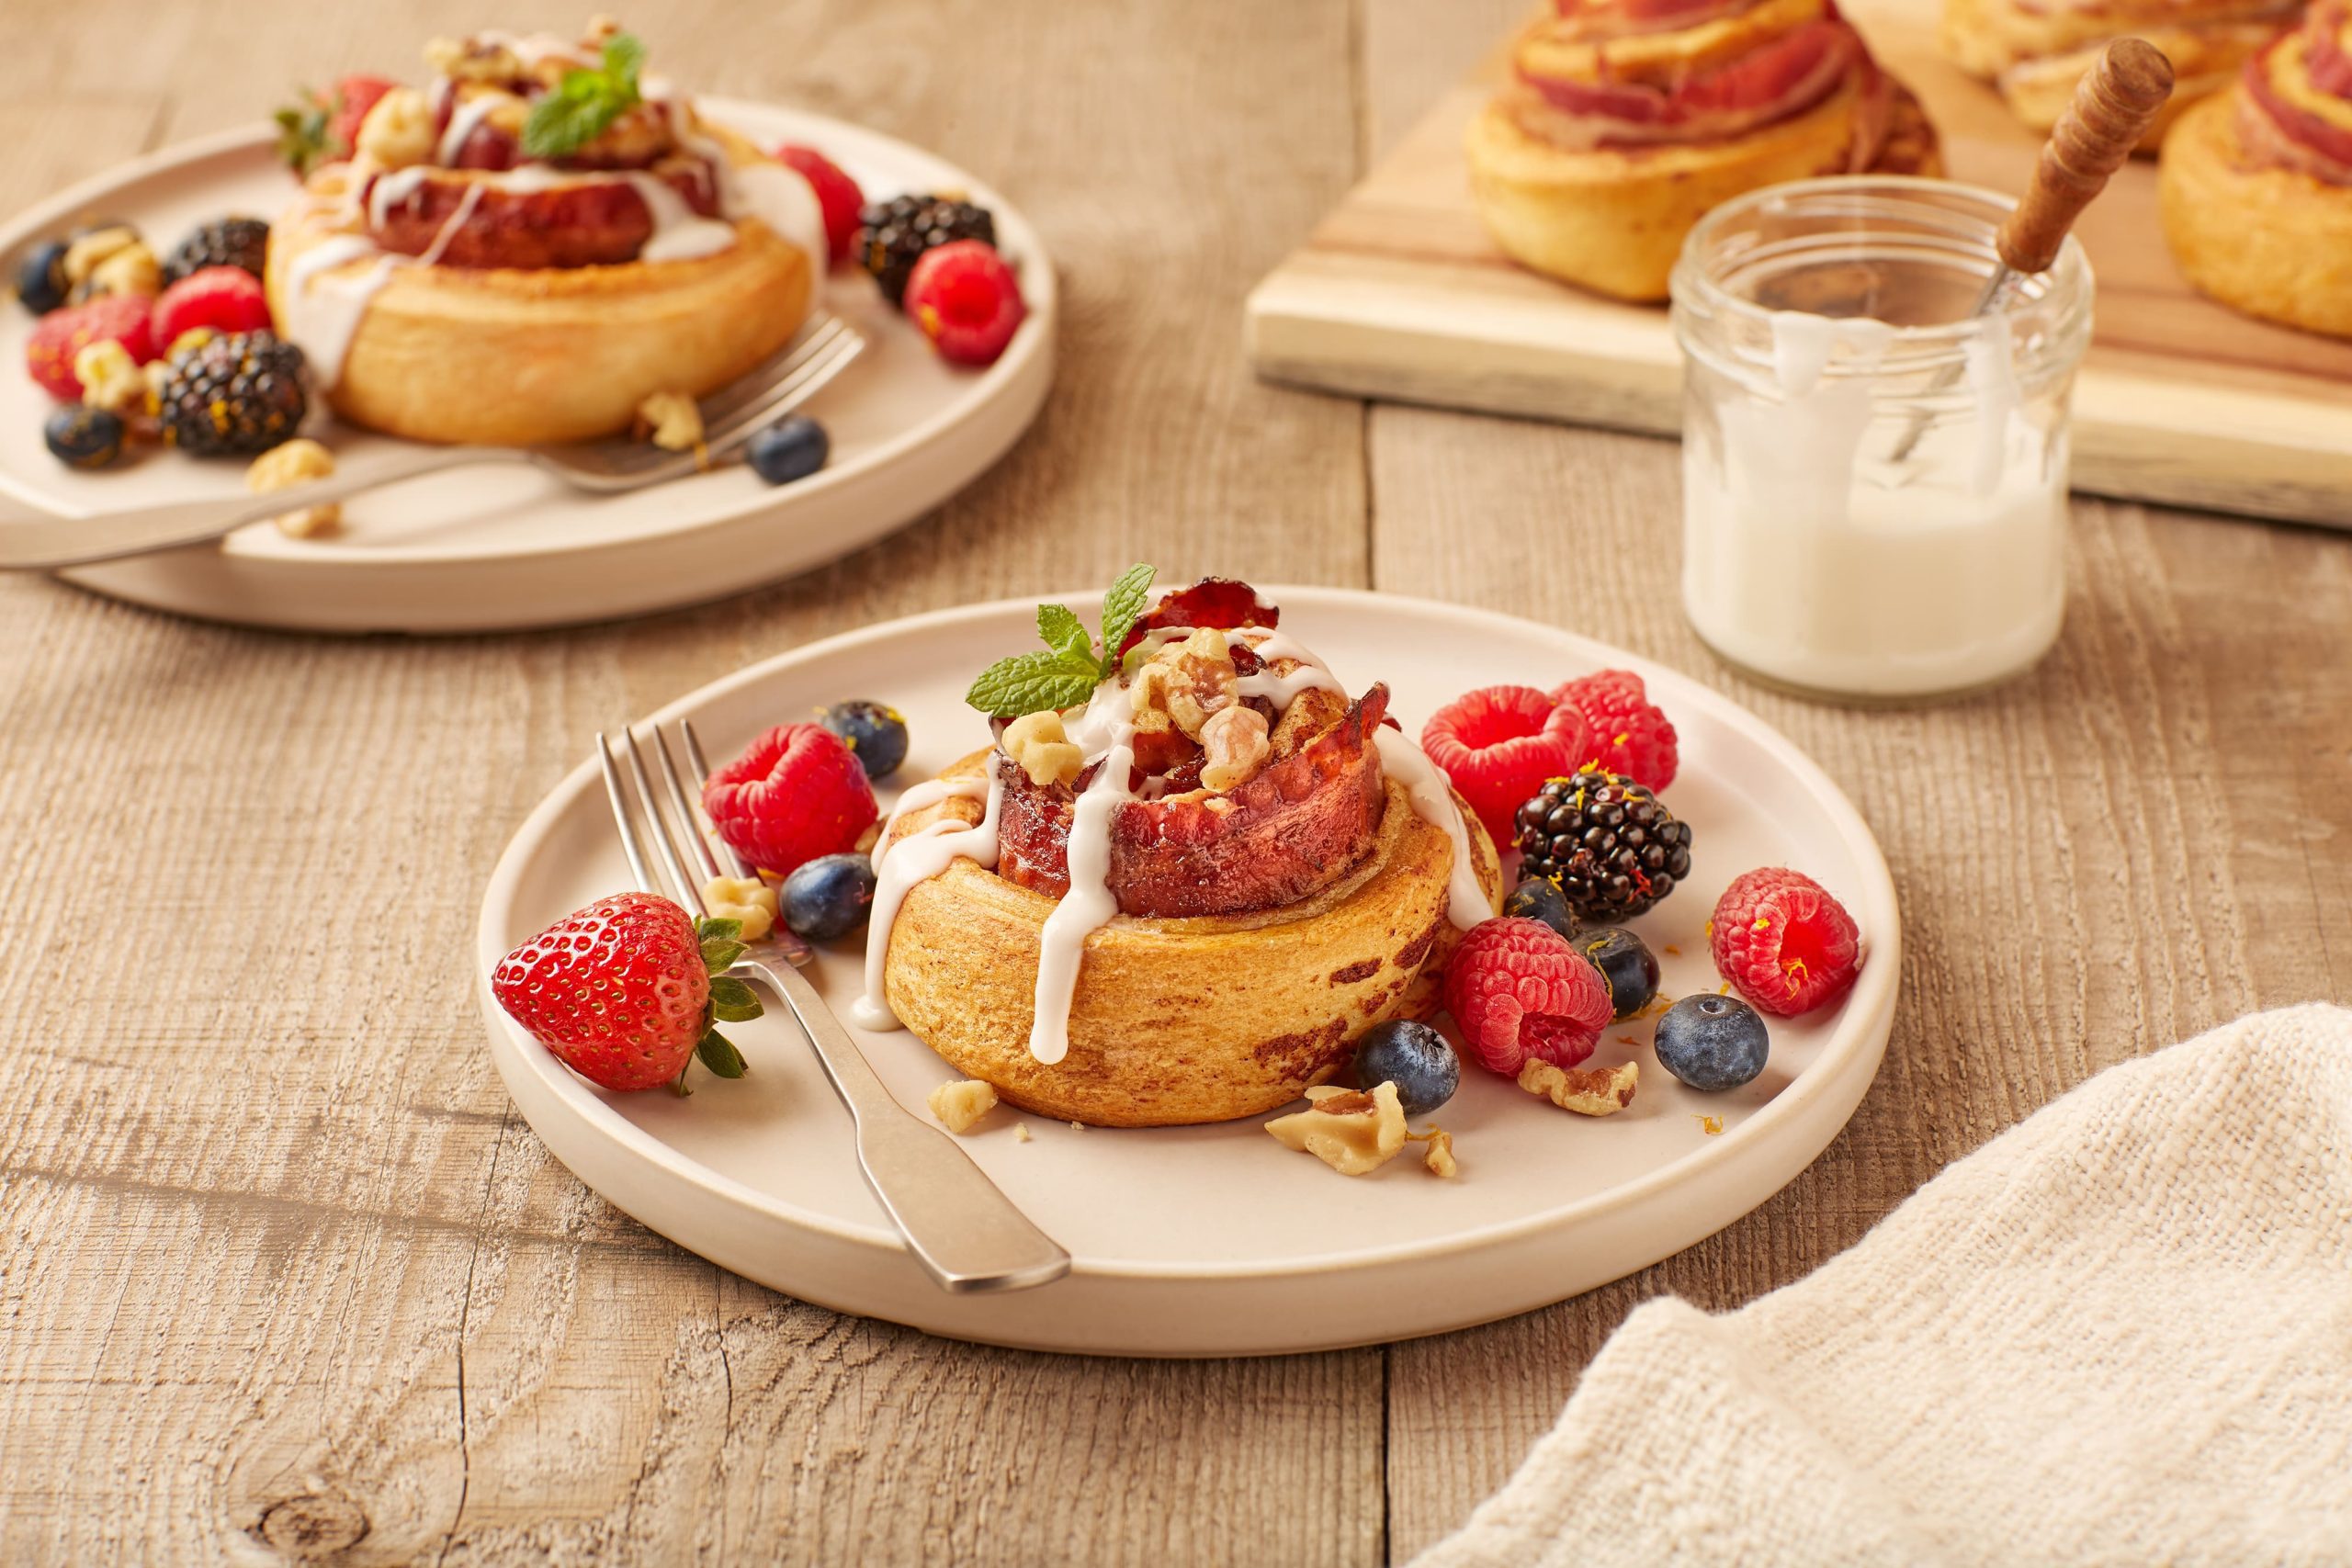
Bacon Laced Jumbo Cinnamon Rolls with Berry Fruit Salad

Preparation
Bowl icon

5

Minutes

Total Time
Clock icon

30

Minutes

Serves
Portions icon

5

servings

  • Ingredients

  • Preparation

  1. Heat oven per package direction on cinnamon rolls.
  2. Place bacon onto a paper towel lined plate and microwave for about 30 seconds, just enough so bacon is pliable.
  3. Separate cinnamon rolls and gently unroll until you just about reach the middle. Place two slices lengthwise side by side across the top of the dough. Bacon should be poking out about halfway above the dough. Tightly roll cinnamon bun back up.
  4. Lightly spray an 8- or 9-inch cake pan with oil. Fit cinnamon rolls snuggly together into pan. Bake per package directions.
  5. Ice cinnamon bun immediately with the provided icing.
  6. In a small bowl mix berries and orange zest together, divide fruit salad and spoon over top. Sprinkle with nuts and garnish with mint if using. If there are any leftover slices of bacon, chop and use as garnish. Serve immediately.
Tips icon

Try different toppings such as sliced bananas and sprinkled with crunchy granola.

Don’t miss

Start a conversation with your family about climate change

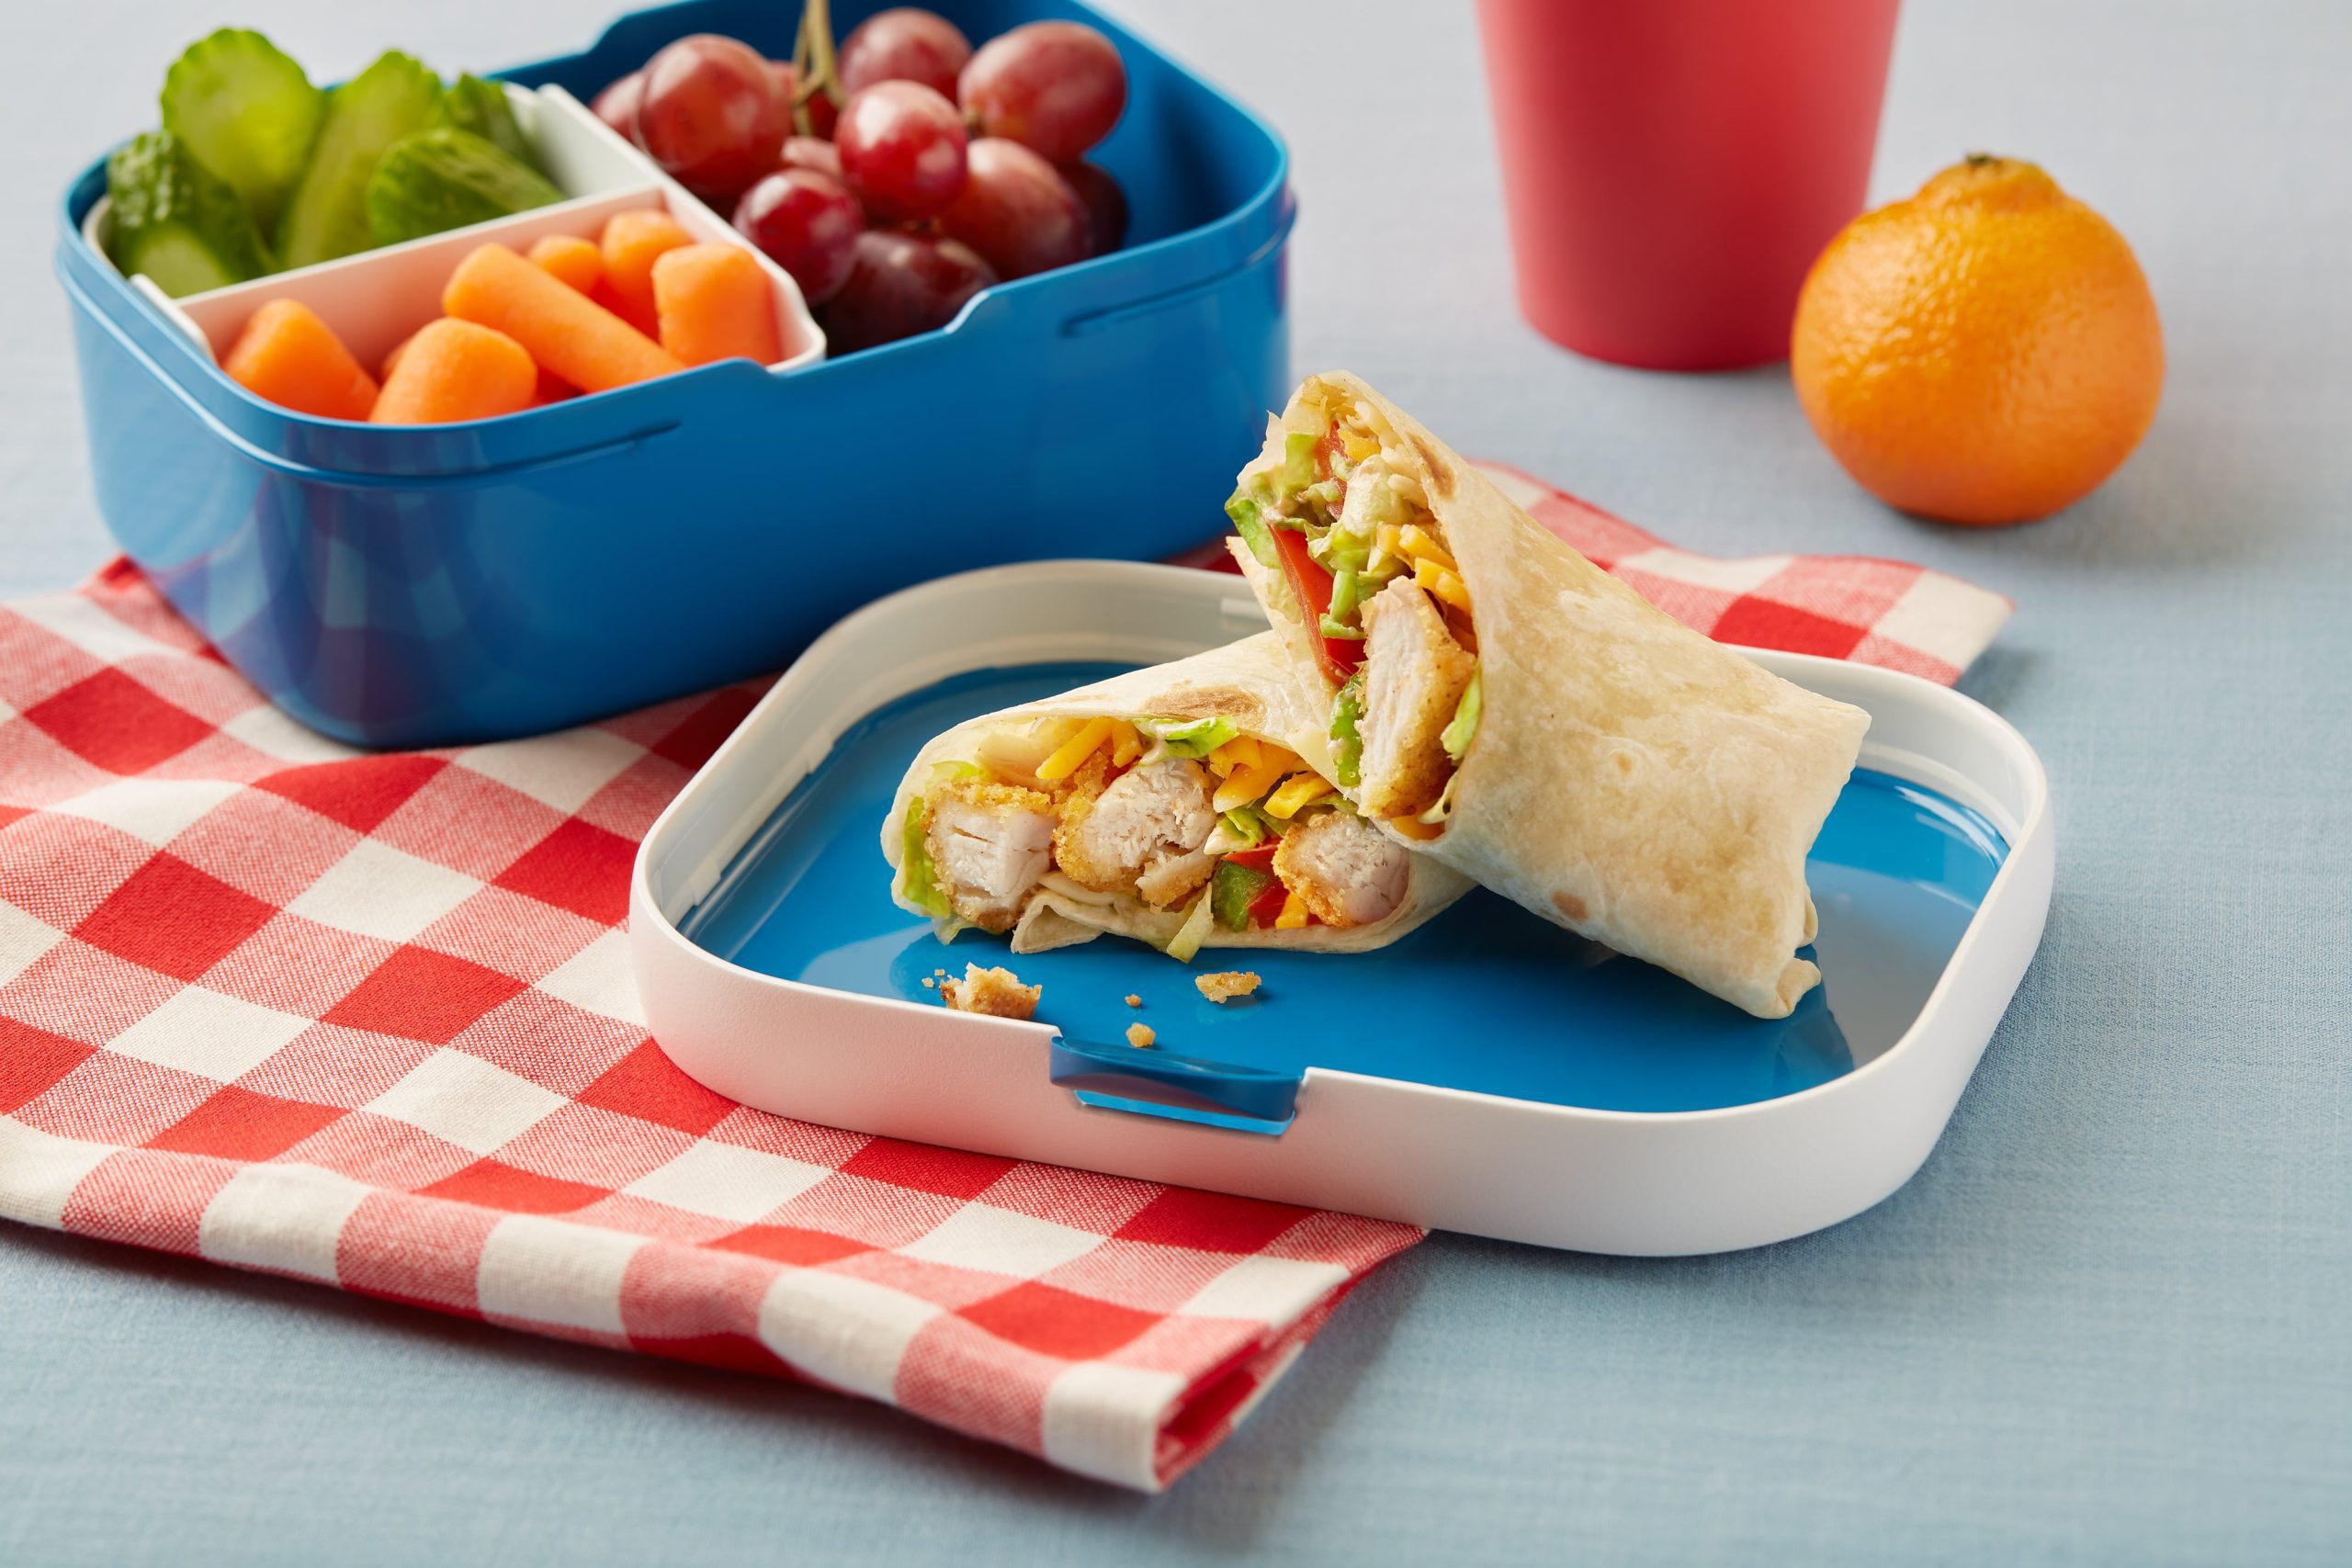
Crunchy Chicken Lunchbox Fajita Wraps

Preparation
Bowl icon

5

Minutes

Total Time
Clock icon

30

Minutes

Serves
Portions icon

6

wraps

  • Ingredients

  • Preparation

  1. Prepare chicken strips per package directions. Allow to cool fully and roughly chop. Set aside.
  2. Heat oil in a large nonstick skillet over high heat. Add pepper and onions. Allow vegetables to sear and blacken while stirring occasionally, about 1 minute. Reduce heat to medium and add seasoning. Continue to cook for about 2 to 3 minutes until vegetables are softened. Allow vegetables to cool completely.
  3. Combine salsa and sour cream in a small bowl.
  4. Assemble wraps by laying tortillas flat on a clean surface. In a large bowl toss lettuce with salsa mixture. Divide lettuce between tortillas followed by chicken, vegetables and cheese. Roll tortillas up tightly.
  5. Place in an airtight container in the refrigerator until ready to eat.
Tips icon

MAKE AHEAD! Make all components the night before and assemble in the morning for lunches. Consume within 1 day.

Don’t miss

Start a conversation with your family about climate change

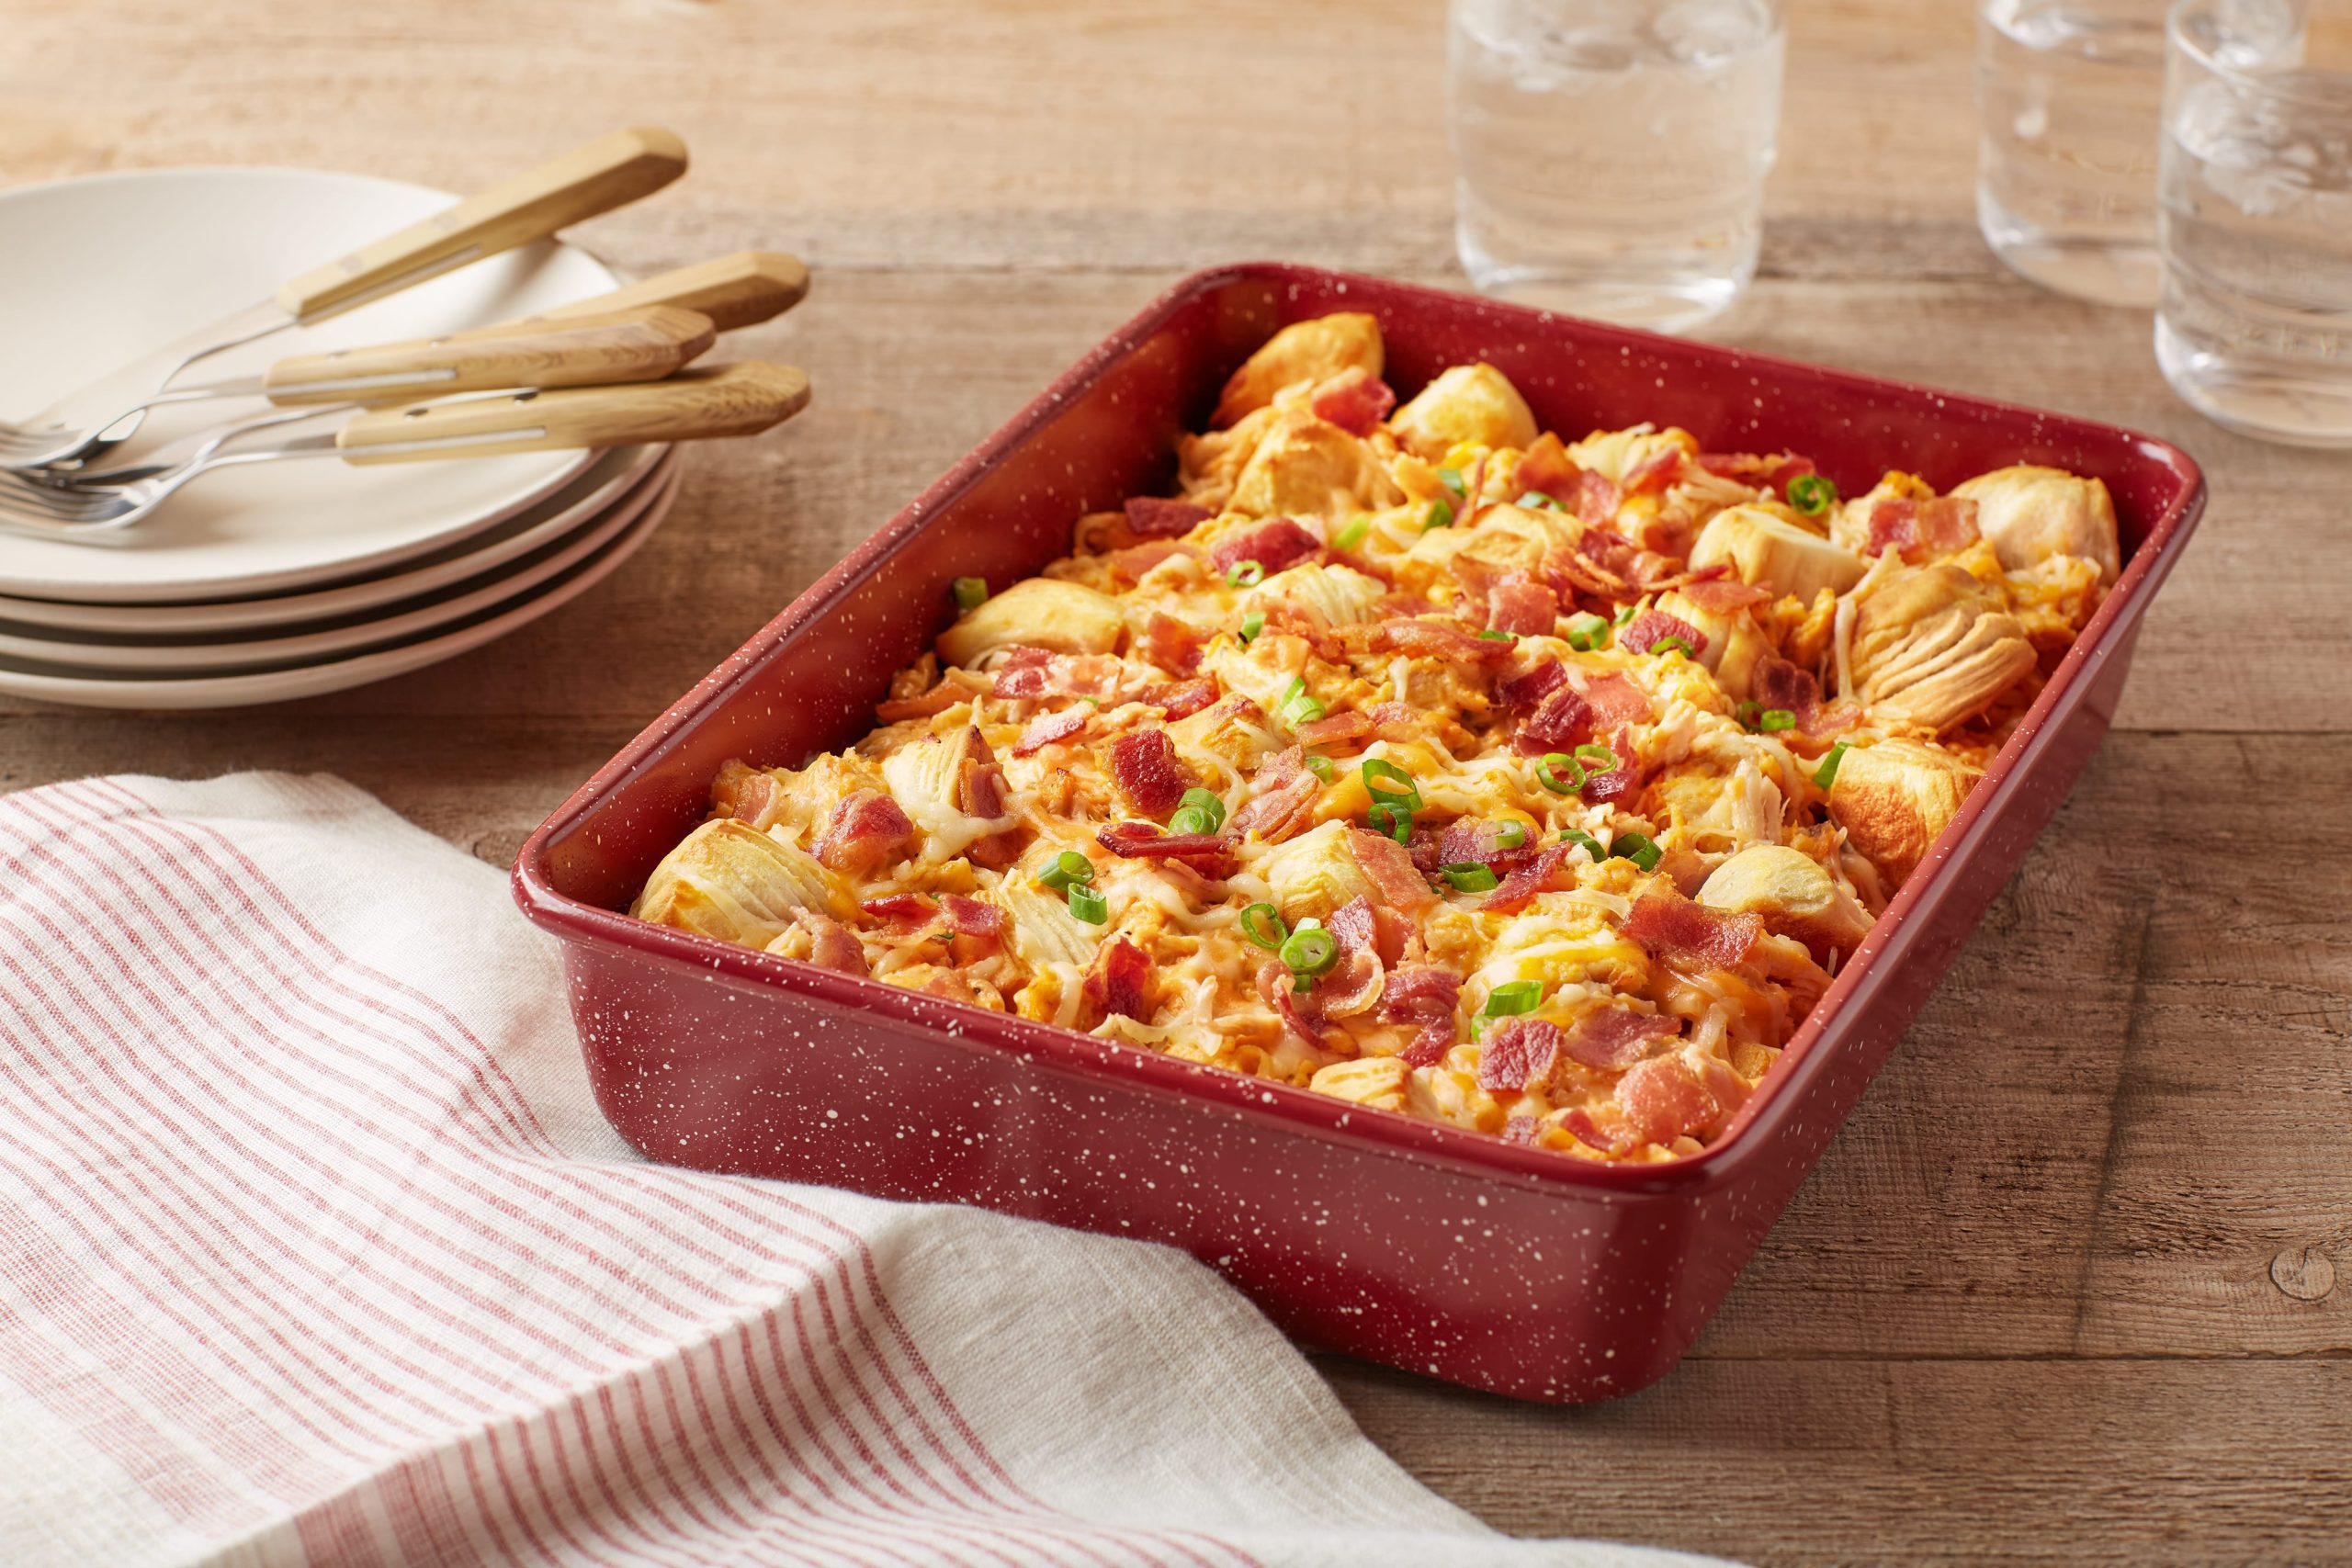
Buffalo Chicken, Bacon Bubble-Up

Preparation
Bowl icon

5

Minutes

Total Time
Clock icon

40

Minutes

Serves
Portions icon

6

servings

  • Ingredients

  • Preparation

  1. Preheat oven to 375°F. Spray a 9×13 inch baking dish lightly with oil.
  2. In a large nonstick skillet cook bacon over medium high heat until just starting to crisp. Remove bacon from pan with a slotted spoon onto a paper towel lined plate. Set aside.
  3. Gently separate flaky roll dough and slice each round into quarters. Place dough evenly onto the base of baking dish.
  4. In a large bowl combine chicken, cream cheese, hot sauce and ranch dressing and mix thoroughly. Spoon mixture evenly over dough being sure to cover the whole surface.
  5. Bake on middle rack of oven for 30 minutes. Remove from oven and sprinkle cheese over top followed by bacon. Bake for an additional 5 to 10 minutes until cheese has melted and the top is golden.
  6. Garnish with green onions and serve immediately.

Don’t miss

Start a conversation with your family about climate change

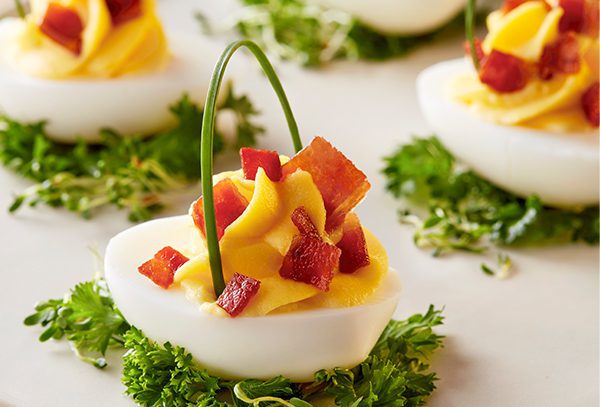
Crispy Bacon Topped Devilled Easter Egg Baskets

Preparation
Bowl icon

5

Minutes

Total Time
Clock icon

15

Minutes

Serves
Portions icon

24

devilled eggs

  • Ingredients

  • Preparation

  • 12eggs, hard boiled, peeled, sliced and yolks removed
  • 185g pkg Maple Leaf® Ready Crisp® Bacon bits
  • cup mayonnaise plus extra
  • Salt
  • White pepper
  • 1bunch fresh curly parsley, stems removed
  • cup alfafa
  • 24chives, trimmed
  1. In a large bowl using a hand mixer blend yolks and mayonnaise on medium high.
  2. Add more mayonnaise until the mixture is smooth and free of any lumps and consistency is moderately thick.
  3. Transfer mixture into a piping bag outfitted with a large star. Pipe mixture into hollowed out egg halves.
  4. Place bacon into a microwave safe dish lined with paper towel for about 30 to 45 seconds. Allow to cool slightly.
  5. Sprinkle onto devilled eggs. Place a small tuft of alfalfa over top.
  6. Carefully take chives and create the basket “handle” by wedging each end into the filling of the egg at each side.
  7. Arrange curly parsley onto a large platter and arrange eggs over top to create a “garden patch”.
Tips icon

Can be made in advance. Get the kids to help – this is a fun way to get them creative in the kitchen.

Don’t miss

Start a conversation with your family about climate change

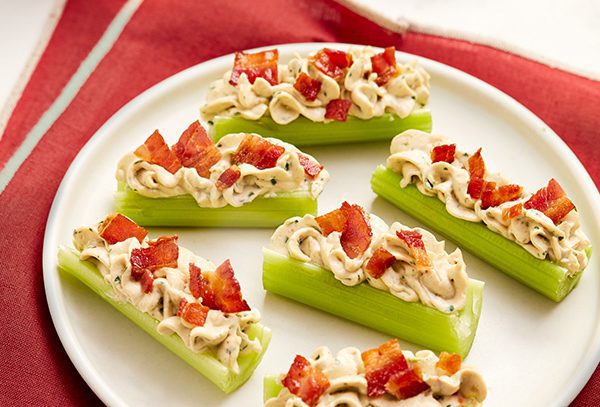
Bacon Stuffed Celery Boats

Preparation
Bowl icon

10

Minutes

Total Time
Clock icon

5 (+ 1hr chill time)

Minutes

Serves
Portions icon

28

boats

  • Ingredients

  • Preparation

  • 185g pkg Maple Leaf® Ready Crisp® bits
  • 140g pkg dry vegetable soup mix
  • ½cup mayonnaise
  • ¾cup sour cream
  • ½cup cream cheese
  • ½cup fresh parsley, chopped
  • 1bunch celery, trimmed and cut into 2 to 2.5 inch logs
  1. In the base of a food processor combine soup mix, mayonnaise, sour cream, cream cheese and parsley.
  2. Blend on high until just combined. About a minute. Spoon mixture into a bowl and allow to chill for an hour.
  3. Heat a small skillet over medium heat and gently heat up bacon bits. Remove from heat and set aside.
  4. Spoon mixture into a piping bag outfitted with a star tip. Pipe filling into the celery cavity. Continue until all the filling is used.
  5. Generously sprinkle bacon bits over each celery boat. Serve immediately.
Tips icon

Get your kids to help! Choose fun tips for the piping bag to create different celery boats. Filling can be made two days in advance and kept in an air tight container.

Don’t miss

Start a conversation with your family about climate change